
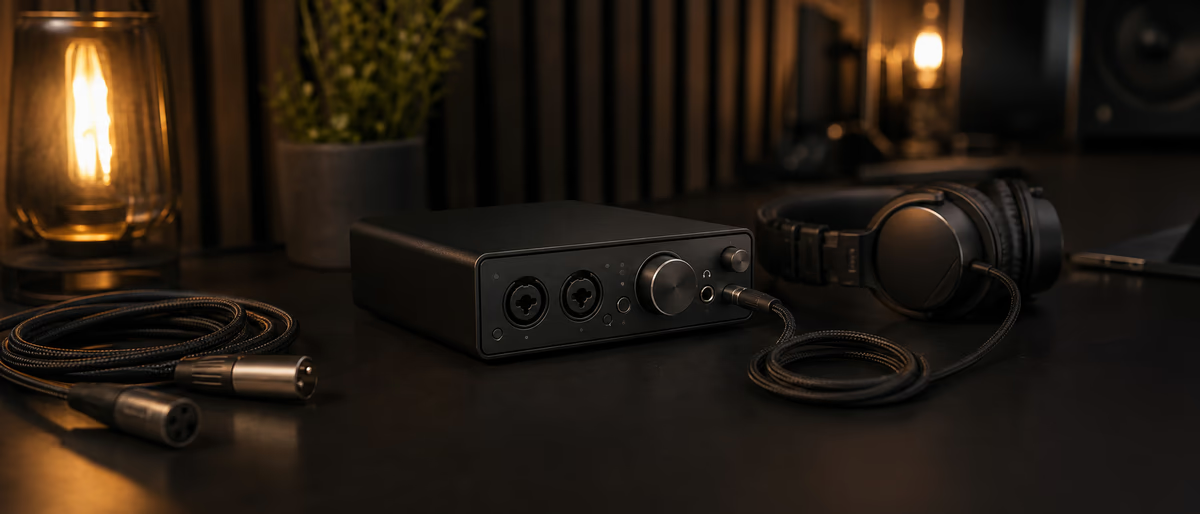
Quick Answer
The best budget audio interface for most producers is a reliable 2-in/2-out USB unit with stable drivers, clean enough mic preamps, and headphone output that can drive your cans—Focusrite Scarlett-class, PreSonus, Audient, SSL, and MOTU entries dominate this tier.
What Actually Matters on a Budget Interface
An audio interface converts analog mics/instruments to digital audio your DAW can record, and converts the DAW’s output back to analog for headphones and speakers. On a budget, the differentiators are driver stability, preamp noise at realistic gain, headphone amp power, loopback for streaming, and build quality—not marketing sample-rate ceilings you will never use.
Most beatmakers need two inputs (mic + occasional line/instrument) and two outputs (monitors) plus a headphone jack. Buy more I/O only if you track bands or multiple hardware synths live. A stable 2x2 you trust beats an 8x8 that drops USB packets.
Install the manufacturer’s drivers/control app even when the box says class-compliant. Set sample rate to match your template (often 48 kHz) and start with a buffer of 128–256 samples for tracking, higher for heavy mix sessions.[1]
- Preamps Quiet enough for a condenser at moderate gain; check reviews for hiss at high gain if you record whisper vocals.
- Direct monitoring Hardware monitoring or ultra-low-latency software mix for singing without delay.
- Loopback Routes DAW/system audio back in for sampling YouTube-free sources you own or for streaming.
- MIDI I/O Useful for hardware synths; optional if all controllers are USB-MIDI.
- Build & ports Solid USB-C, metal case preferred, clear gain knobs with peaking LEDs.
Shortlist Categories (Not a Fake Ranked Blind Test)
| Profile | What to look for | Typical buyer |
|---|---|---|
| First interface | Scarlett Solo/2i2-class, PreSonus AudioBox/Studio series | Vocals + beats, simple setup |
| Cleaner preamps | Audient iD series entry, SSL 2/2+, similar | Quieter gain, better DI feel |
| Creator/stream | Interfaces with easy loopback & software mixer | Twitch + production hybrid |
| Mac simplicity | Class-compliant units with solid Core Audio history | Laptop producers who hate driver drama |
| Expand later | ADAT-capable units only if you truly need more inputs soon | Growing hardware desks |
Street prices move with sales. Compare current official specs and return policies rather than memorizing a 2024 forum post. Read the latest macOS/Windows compatibility notes before buying used. Apple Silicon machines generally work well with maintained drivers; abandoned products are the real risk.[2]
Ignore “192 kHz studio magic” as a purchase reason. 24-bit depth matters more for headroom than extreme sample rates on entry converters. Consistent session rate + good gain staging beats checkbox marketing.
First-Hour Setup Checklist
Common Mistakes That Make Budget Interfaces Sound “Bad”
Clipping the preamp, then blaming the brand. Recording at microscopic gain and boosting 30 dB in the DAW, raising noise. Using a charge-only USB-C cable. Leaving Windows enhancements on. Placing a condenser mic next to a PC fan and chasing the hiss with denoisers. Comparing your untreated room to a YouTube review filmed in a treated space.
Another mistake: buying a new interface to fix mix translation problems that are actually monitoring/room issues. Interfaces matter, but headphones/monitors and acoustics decide more of your daily sound. Upgrade the interface when you need cleaner preamps, more I/O, or better software routing—not when you are lonely shopping.
For guitarists, use the hi-Z instrument input correctly; a guitar into a mic pre without DI design can sound dull or noisy. For synthesizer line outs, use line-level inputs when available rather than mic gain stages.
Buying Used Without Getting Burned
Used interfaces are often excellent value if drivers are still updated. Ask for a photo of the serial, confirm phantom power works, test every input with a cable, and verify USB connectors are not loose. Avoid units with crackling gain pots unless you enjoy contact cleaner projects.
Factor in missing software license codes—some bundles are single-activation. The hardware converters matter more than expired trial plugins. Keep original PSU if it uses a barrel connector; random voltage adapters kill gear.
When to Upgrade Beyond Budget
Upgrade when you need more simultaneous mic inputs, better headphone cue mixes for two performers, ADAT expansion, lower converter noise for classical dynamics, or DSP monitoring features that your current unit lacks. Do not upgrade solely because a marketer announced a new generation with RGB.
If your budget interface is stable and quiet for your sources, put money into room treatment, a better mic, or lessons. The interface is a tool; finished songs are the product.
A Note on Bundled Software
Budget interfaces often include trial instruments and effects. Treat them as optional learning tools, not as justification to overpay for hardware you do not need. Keep the installers organized, register serials in a password manager, and uninstall what you will never open—bloated startup utilities cause more pain than missing a free reverb trial.
If you already own a DAW and a few trusted plugins, prioritize the analog path: quiet preamps, solid metering, and a headphone amp that drives your closed-backs without distortion at rehearsal volumes. Those traits show up on every session; a three-month instrument trial does not.
Gain Staging With a Budget Interface
Set input gain so loudest expected peaks land around −12 to −6 dBFS on the interface meter while tracking. That range leaves headroom for energetic ad-libs without forcing a noise-raising rescue later. If you only watch the DAW meter after heavy plugin gain, you will misread the analog stage.
Use pad switches on loud sources and prefer the instrument (hi-Z) input for guitars and basses. Line-level synths should hit line inputs when available. After recording, normalize only when you understand whether you are fixing a timid performance or hiding a gain mistake—consistent recording levels make compression more musical.
Keep a short voice memo in your phone: “Verse gain at 1 o’clock, chorus back off a notch.” Future sessions go faster when the interface becomes muscle memory rather than a weekly puzzle.
Pair a solid interface with samples and tools that keep sessions moving—browse free resources and upgrade when you need more processing headroom.
Learning path
Related answer hubs
Related catalog
More software from the catalog
More software from the Plugg Supply feed, ranked by catalog popularity.
![VoosteQ Model N Channel v1.0.7 [WiN]](/images/posts/voosteq-model-n-channel-86586.avif?v=2026080101)
Software
VoosteQ Model N Channel v1.0.7 [WiN]
![GS DSP Complete v2026.4 [WiN]](/images/posts/gs-dsp-complete-86587.avif?v=2026080101)
Software
GS DSP Complete v2026.4 [WiN]
![VoosteQ Material Comp v1.7.13 [WiN]](/images/posts/voosteq-material-comp-86585.avif?v=2026080101)
Software
VoosteQ Material Comp v1.7.13 [WiN]
![Satori Channel v1.0.2 [WiN]](/images/posts/satori-channel-86567.avif?v=2026080101)
Software
Satori Channel v1.0.2 [WiN]
Related articles
Software
VoosteQ Model N Channel v1.0.7 [WiN]
Software
GS DSP Complete v2026.4 [WiN]
Software
VoosteQ Material Comp v1.7.13 [WiN]
Software
Satori Channel v1.0.2 [WiN]
![Atomic Audio Deadline Mini v1.0.0 [MacOSX]](/images/posts/setapp-deadline-mini-86577.avif?v=2026080101)
![UVI Player v5.0.0 [WiN]](/images/posts/uvi-player-86566.avif?v=2026080101)
Software
UVI Player v5.0.0 [WiN]
Frequently Asked Questions
- Is Focusrite Scarlett still a good first interface?
- Yes for most beginners—ecosystem, drivers, and availability are strong. Compare current-gen preamps and features against Audient/SSL/PreSonus at the same price.
- Do I need Thunderbolt?
- Not for typical 2x2 bedroom production. USB interfaces handle multitrack beats and vocals easily when drivers are solid.
- 2i2 vs Solo?
- Solo suits one mic-focused creator; 2i2-class units help when you need two inputs (mic + guitar, or two mics).
- Can I use an interface with an iPad?
- Many class-compliant interfaces work with the right kit/adapter and power. Check the manufacturer’s iOS/iPadOS notes for your exact model.
- Why is there latency when I sing?
- Buffer too high or software monitoring only. Use direct monitoring and lower buffer while tracking.
- Does 192 kHz sound better?
- Not in any way that justifies budget upgrades for most beat/vocal work. Prefer 24-bit and good gain staging at 44.1/48 kHz.
- Interface or USB microphone?
- Interface + XLR mic is the more flexible long-term path for music production.