
Quick Answer
Under $500, treat first reflection points and add broadband absorption (and bass control if possible)—not thin cosmetic foam everywhere. Placement and coverage beat buying random pyramid packs.
What Treatment Can and Cannot Do
Acoustic treatment reduces problematic reflections and modal issues so what you hear from monitors (and even headphones in a live room while tracking) is more trustworthy. It does not soundproof against neighbors—that is isolation construction, a different budget universe.
In small bedrooms, early reflections from desks, walls, and ceilings smear transients and create comb filtering. Low frequencies build up in corners. Cheap thin foam mostly trims highs, leaving boom intact—which is why “foam stickers everywhere” often disappoints.
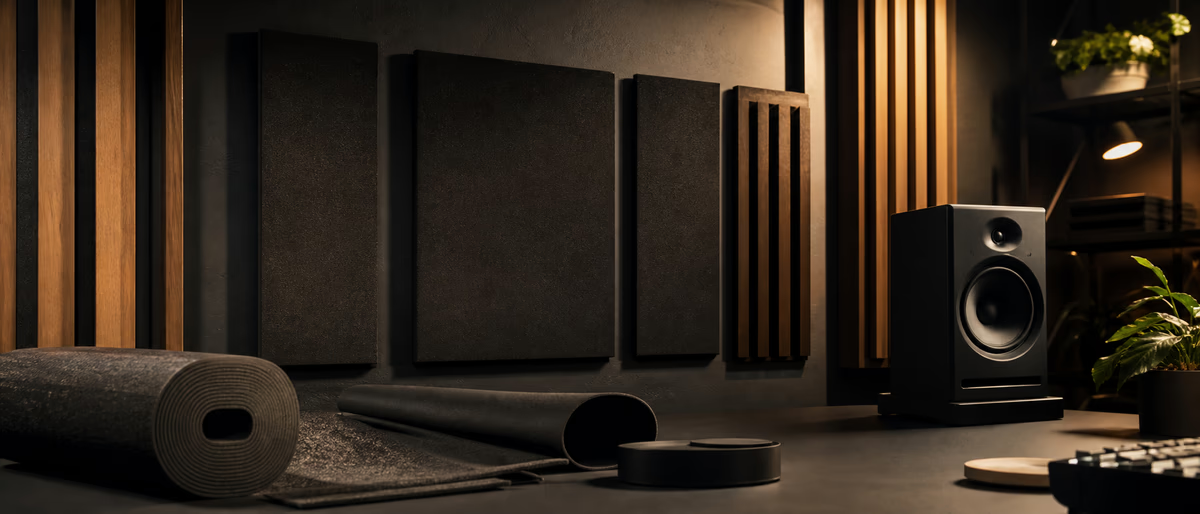
Under $500 you can make a meaningful improvement with DIY mineral wool or dense fiberglass panels (safely built), thick moving blankets as temporary help, a rug, and strategic placement. Commercial starter panels also fit if DIY is not possible.[1]
Spend Order That Maximizes $500
| Priority | Action | Why |
|---|---|---|
| 1 | Rug + soft furnishings | Kill floor bounce cheaply |
| 2 | First reflection side panels | Clean stereo imaging |
| 3 | Cloud or ceiling absorption if possible | Desk reflections from above |
| 4 | Corner bass traps (thick) | Control low-end build-up |
| 5 | Rear wall treatment | Reduce slap echo behind you |
Measure roughly: sit in mix position, have a friend slide a mirror along side walls—where you see the monitors is a reflection point. Treat there first. Symmetry helps; matching left/right panels keep the image stable.
If you only use headphones, treatment still helps recording vocals and reduces room noise excitement. Prioritize a vocal corner with absorption behind the mic and a reflection shield only as a secondary tool—not a full room substitute.
DIY Panel Basics (Safety First)
Common DIY builds wrap rigid mineral wool or acoustic fiberglass in breathable fabric on a simple wood frame, with hanging hardware rated for the weight. Wear PPE—fibers are not a lung-friendly craft project. Follow material safety guidance and local rules for disposal.[2]
Thickness matters: 5–10 cm broadband panels help mids/highs; thicker corner traps help lower. Air gaps behind panels can improve low-mid absorption. Do not block HVAC entirely or create fire hazards with sketchy electrical adjacency—keep treated rooms livable and safe.
No-build alternatives: thick quilts/moving blankets on stands, bookshelves as crude diffusors/scatter, closet clothes as absorption behind the listening position. Imperfect treatment beats untreated reflective boxes.
Foam Kit Myths
Egg-crate foam sold as “studio kit” often lacks density and thickness for bass. Covering every wall with bright foam can over-deaden highs while leaving modal boom—leading to mixes that are dull yet still bass-inaccurate.
Diffusers are advanced tools; random furniture scatter is not a QRD diffuser. Buy or build diffusion only after absorption basics. Marketing photos of diamond foam caves are not acoustic design.
Measurement mics and free room analysis software can guide placement, but even without graphs, the mirror trick + clap test (listen for flutter echo) gets beginners far.
Treatment + Speaker Placement Together
Document photos of the setup. When you rearrange furniture seasonally, acoustic wins disappear silently. Tape marks on the floor for chair position help consistency.
Example $500 Allocations
| Split | Approx | Outcome |
|---|---|---|
| DIY heavy | $200 materials + $100 stands + $100 fabric + misc | Best performance if you can build |
| Commercial panels | $350–$450 panels + rug | Faster install, less custom |
| Hybrid | $250 DIY traps + $150 first-reflection panels + rug | Balanced path |
Leave a little budget for proper mounting hardware. Panels that fall on monitors are a false economy. If renting, use damage-light hanging methods approved by your lease—freestanding frames exist for a reason.
Practice Plan: Room Treatment Under $500
Convert this guide into action within seven days. Block two calendar sessions labeled “Room Treatment Under $500 only,” silence chat apps, and implement a single measurable change—one setting, one layout, one template, or one outreach script—rather than half-doing five ideas.
Document before/after with a bounce, screenshot, or checklist tick. If nothing measurable improved, revert and try the next highest-leverage tip from the comparison tables above. Progress is a loop of test → note → keep/discard.
Teach the improved method to a peer or future-you via a short note in the project folder. Explaining the workflow exposes gaps faster than rereading marketing pages. Then ship a finished track using the updated system so the learning sticks to real music.
Practice Plan: Room Treatment Under $500
Practice Plan: Room Treatment Under $500
Once the room behaves, mix decisions get easier—browse tools and samples for sessions you can trust.
Learning path
Related answer hubs
Related catalog
More software from the catalog
More software from the Plugg Supply feed, ranked by catalog popularity.
![VoosteQ Model N Channel v1.0.7 [WiN]](/images/posts/voosteq-model-n-channel-86586.avif?v=2026080101)
Software
VoosteQ Model N Channel v1.0.7 [WiN]
![GS DSP Complete v2026.4 [WiN]](/images/posts/gs-dsp-complete-86587.avif?v=2026080101)
Software
GS DSP Complete v2026.4 [WiN]
![VoosteQ Material Comp v1.7.13 [WiN]](/images/posts/voosteq-material-comp-86585.avif?v=2026080101)
Software
VoosteQ Material Comp v1.7.13 [WiN]
![Satori Channel v1.0.2 [WiN]](/images/posts/satori-channel-86567.avif?v=2026080101)
Software
Satori Channel v1.0.2 [WiN]
Related articles
Software
VoosteQ Model N Channel v1.0.7 [WiN]
Software
GS DSP Complete v2026.4 [WiN]
Software
VoosteQ Material Comp v1.7.13 [WiN]
Software
Satori Channel v1.0.2 [WiN]
![Atomic Audio Deadline Mini v1.0.0 [MacOSX]](/images/posts/setapp-deadline-mini-86577.avif?v=2026080101)
![UVI Player v5.0.0 [WiN]](/images/posts/uvi-player-86566.avif?v=2026080101)
Software
UVI Player v5.0.0 [WiN]
Frequently Asked Questions
- Is foam useless?
- Thin foam is limited; thick broadband absorption helps. Product quality varies.
- Can I soundproof for $500?
- No—not meaningfully. Treatment ≠ isolation.
- Headphones only—do I need treatment?
- Less critical for mixing, still helpful for recording and quieter rooms.
- Where should bass traps go?
- Corners are common high-pressure zones; thick traps help most there.
- Do I need a measurement mic?
- Helpful but not mandatory for first improvements.
- Will treatment fix cheap monitors?
- It helps them tell the truth; it does not add missing extension magically.
- Is DIY safe?
- Yes with PPE, proper materials, and sensible mounting—follow safety data sheets.